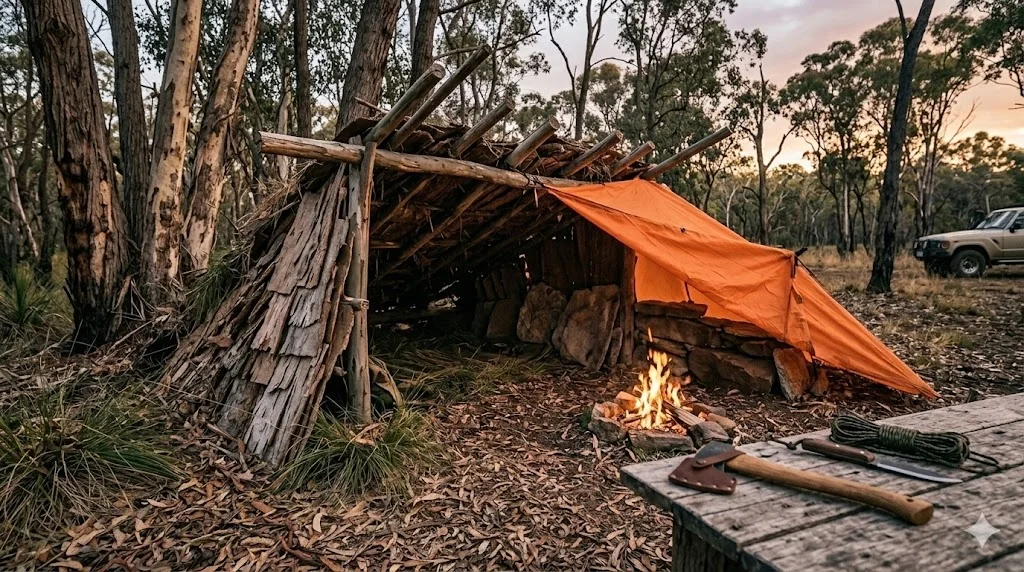
Understanding bushcraft shelter building is a fundamental survival skill that bridges the gap between carried gear and environmental adaptation. In Australia, where ecosystems range from alpine scrub to tropical rainforest, a “one-size-fits-all” approach to survival fails. Whether you are caught in a sudden Pilbara downpour or facing an unexpected sub-zero night in the Victorian High Country, your ability to engineer a thermal barrier using natural materials is critical. This guide explores the technical mechanics of primitive shelters specifically for the Australian bush.
Thermodynamics: The Science of Why Shelters Fail
Most beginners focus on the roof, but conduction (heat loss to the ground) kills more people than rain. In the Australian bush, you must defend against four types of heat transfer:
- Conduction: Prevented by a 30cm thick “bed” of dry leaf litter or bark.
- Convection: Blocked by windbreaks or “dead air” pockets within your thatch.
- Radiation: Managed by using a “Reflector Wall” to bounce campfire heat back into your lean-to.
- Evaporation: Stopped by a 100% waterproof outer layer (Paperbark or a Hoochie).
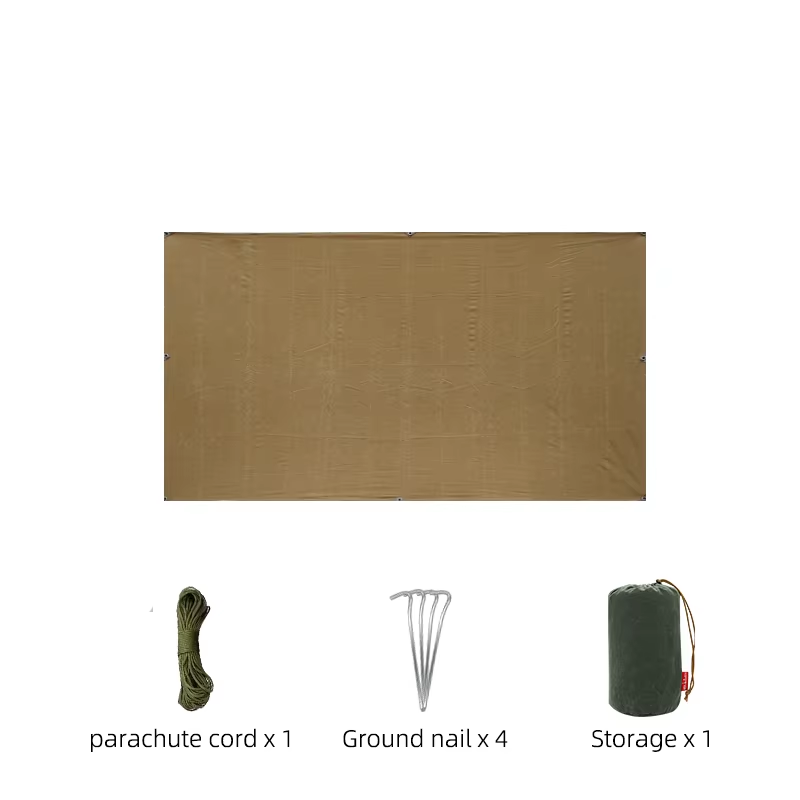
Survival Essential
OutBakka Hoochie Shelter
High-tensile, waterproof hoochie. The ultimate force-multiplier for Australian bushcraft, saving hours of labor.
Technical Material Guide: Australian Flora
| Material | Application | Bushcraft Utility |
|---|---|---|
| Paperbark (Melaleuca) | Roofing/Waterproofing | Naturally anti-fungal and waterproof. Layer shingle-style (bottom to top). |
| Mulga (Acacia) | Ridge Poles/Framework | Arid-zone workhorse. Extremely dense and straight; resists snapping under load. | Insulation Cladding | High resin content makes it a brilliant wind-stopper. Wear gloves during handling. |
| Palm Fronds | Tropical Thatching | Fan palms (Livistona) offer the highest surface area for fast roofing. |
The Hybrid Approach: Modern Gear + Natural Skill
Purely natural shelters (like the Debris Hut) are excellent for survival but take 4–6 hours of heavy labor. The modern bushcraft expert uses a Hoochie as the primary rain fly and supplements with natural “Pindan” red earth or leaf litter for insulation. This saves vital calories and ensures a 100% dry sleeping area in minutes.
Craftsman Gear
Bushcraft Axe Sheath
Durable leather protection for your most vital tool. Essential for processing Mulga or Acacia ridge poles safely.
Step-by-Step Site Engineering
- Drainage Check: Dig a shallow trench (5cm deep) around the perimeter of your shelter. This prevents “run-off” from flooding your bedding during a Pilbara storm.
- Reflector Wall: If building a Lean-To, stack green logs or flat rocks 1 meter high opposite your shelter opening. This bounces 30% more radiant heat from your fire back onto your body.
- Lashing: While natural bark strips work, they dry and shrink. Always carry Paracord for your primary ridge pole knots to ensure structural integrity during high winds.
Key Takeaways for the Australian Bush
- Ground Insulation: 30cm of debris is mandatory to stop conduction.
- Avoid Water: Stay 50m clear of creek beds to avoid flash floods.
- Thatch Direction: Always shingle from the bottom up to shed rain.
- Widow Makers: Look up—Eucalypts drop limbs without warning.
- Hybrid Setup: Use a hoochie for speed; use nature for warmth.
Frequently Asked Questions
Can I build a shelter in an Australian National Park?
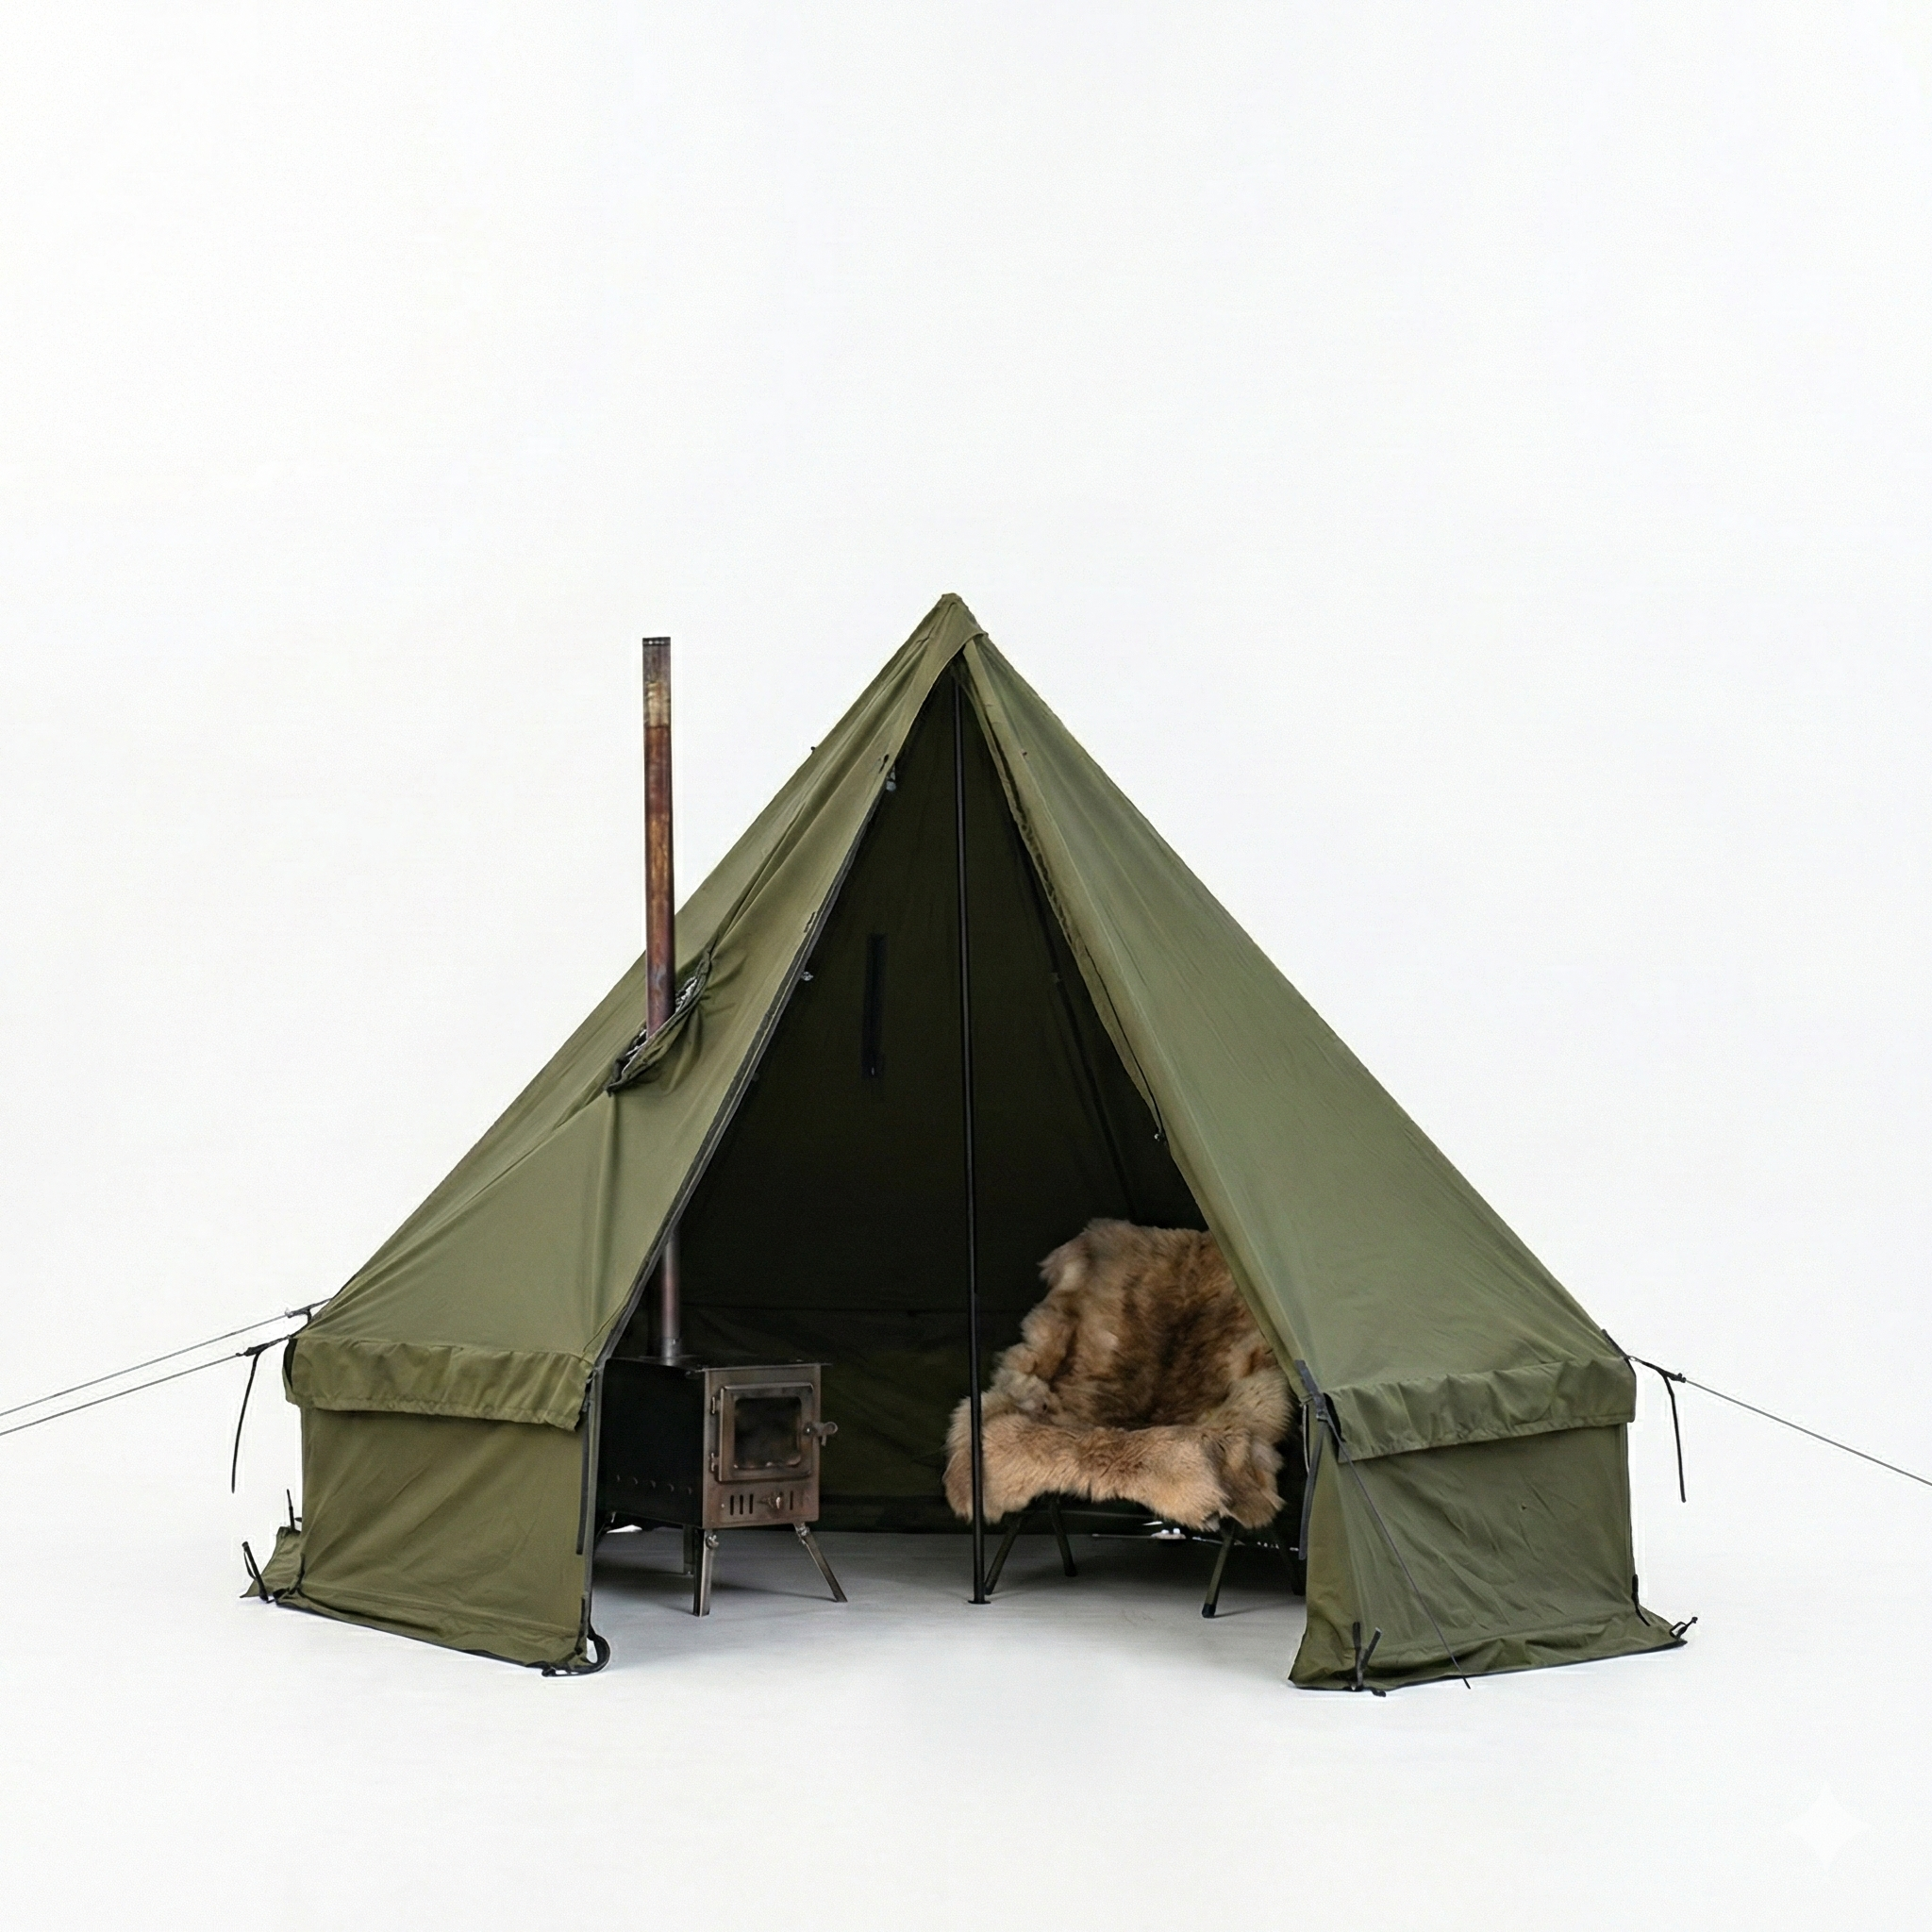
Is a Lean-To better than an A-Frame?
How do I prevent snakes from entering my shelter?
Mastering the Australian bushcraft shelter is a journey of environmental awareness. Start with the right foundation—a quality hoochie, a sharp blade, and a knowledge of local timber. Explore the full OutBakka Survival range and shelter gear to build your kit today.
